Exposure is defined by Wiki as
the amount of light per unit area reaching a photographic film or electronic image sensor, as determined by shutter speed, lens aperture and scene luminance.
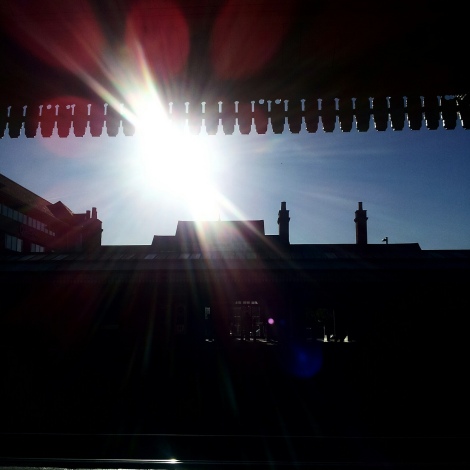
If too much light is absorbed, the image will be over exposed – usually characterised by areas of bright white, highlights or sky that are ‘blown out’, loss of detail in lighter areas of a photo. Of course, some times this is done intentionally for artistic effect in what are termed High Key images.
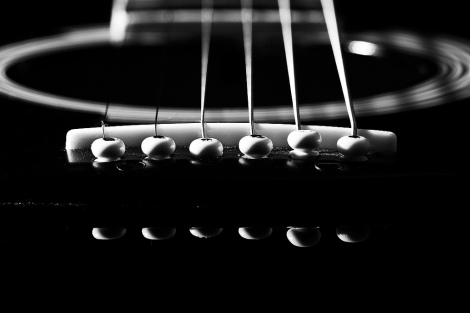
The converse is also true, with a lack of light leading to underexposure, dark areas being ‘crushed’, loss of detail in shadows. Again, doing this intentionally is a Low Key image.
Getting the right exposure is one of the most difficult parts of photography. We talked about the Exposure Triangle a little while ago.
All modern DSLRs have built in light meters to indicate how the camera settings will render an image. To further ‘help’ us, cameras have developed with automatic and semi-automatic modes to adjust aperture, shutter speed and sometimes ISO (or all three), to get the correct exposure based on what it thinks the exposure should be.
This works fine in some situations, but with more complex scenes of light and dark it’s impossible for the camera to know what it should be metering for.
Metering is further complicated by different metering modes – Spot, Partial, Centre weighted, evaluative, etc. – which is a whole topic in itself that I’ll return to another time, but in the meanwhile here are three very good articles on the subject of Metering Modes
http://digital-photography-school.com/metering-modes-explained/
This is why most professionals will encourage you to shoot in full manual mode – so that you determine the areas that are well exposed. And this is why exposure is so important – if the area of interest in a shot is too bright or too dark you won’t be able to see the details in the image and the appeal will be lost.
If you are currently an auto (or semi-auto) user, I would strongly recommend you check out Julie Christie at Teabreak Tog to help you make the step up to manual mode.
Other ways to help get the exposure right include using an external light meter to measure the light at the point in the scene that you’re interested in. This is most commonly done in studio shooting where you use the light meter to adjust the strength of the various lights you have set up.
Another option is exposure bracketing – check your camera manual on how to do this – it’s a way of taking 3 (or more) shots at the same time with different exposure settings. You can then take a look at them later and decide which is best. You can also combine these three images later in post-production software to create what is known as a High Dynamic Range (HDR) image.
However you go about taking a photograph, correct exposure is the first thing to look for. Go back over some of your recent photos and assess the exposure in them. If they weren’t exposed correctly have a think about why this could be – what metering mode did you use? were you in manual mode or something else? Was the scene difficult to expose for accurately? Would bracketing have helped?
In the next post in this series I’m going to talk about focus.


