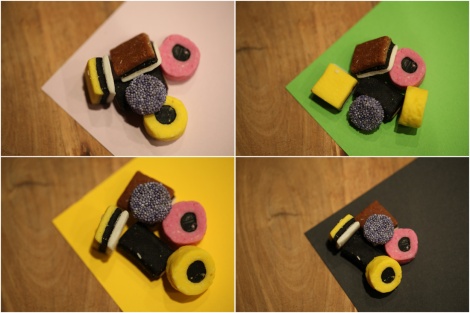
Into the third week of the food photography course (click link in left hand side bar to find out more) and we’ve moved on from photographic skills like depth of field and white balance and got into more of the styling and detailing aspects.
First challenge for me this week was that I don’t have much in the way of different plates and dishes – almost all our crockery is white (the bowls I used in the week 1 shot of chilli are actually our daughters that she didn’t take to Uni).
So I had to improvise and took the photo above with different coloured backgrounds against the sweets. I had a range of responses on the Facebook community as to which was best – which to you think?
The next item we focussed on was garnish, and how this can elevate a shot to a more professional level. My attempt is above. The problem I had was that this was shot on the kitchen floor (for a change of background) and while I was setting up the cat came in and was sniffing around!
As a result I only had time for a couple of shots and forgot to replace the towel with a napkin, which was my original plan.
Finally last week, those of us not familiar with food styling were introduced to the weird and wonderful range of tools and implements that food stylists use to get the best shots. Above is my newly formed collection of items, to which I will be adding as I go along.
All this food talk’s making me hungry – time for something to eat.


